


In this mini-tutorial, I'll go through some AppScript features in comfort with Google SpreadSheet; AppScript is the way we have to insert JavaScript code inside the SpreadSheet to be able to implement some advanced functionality.
The documentation of AppScript (SpreadSheet) can be found here: developers.google.com/apps-script/reference..
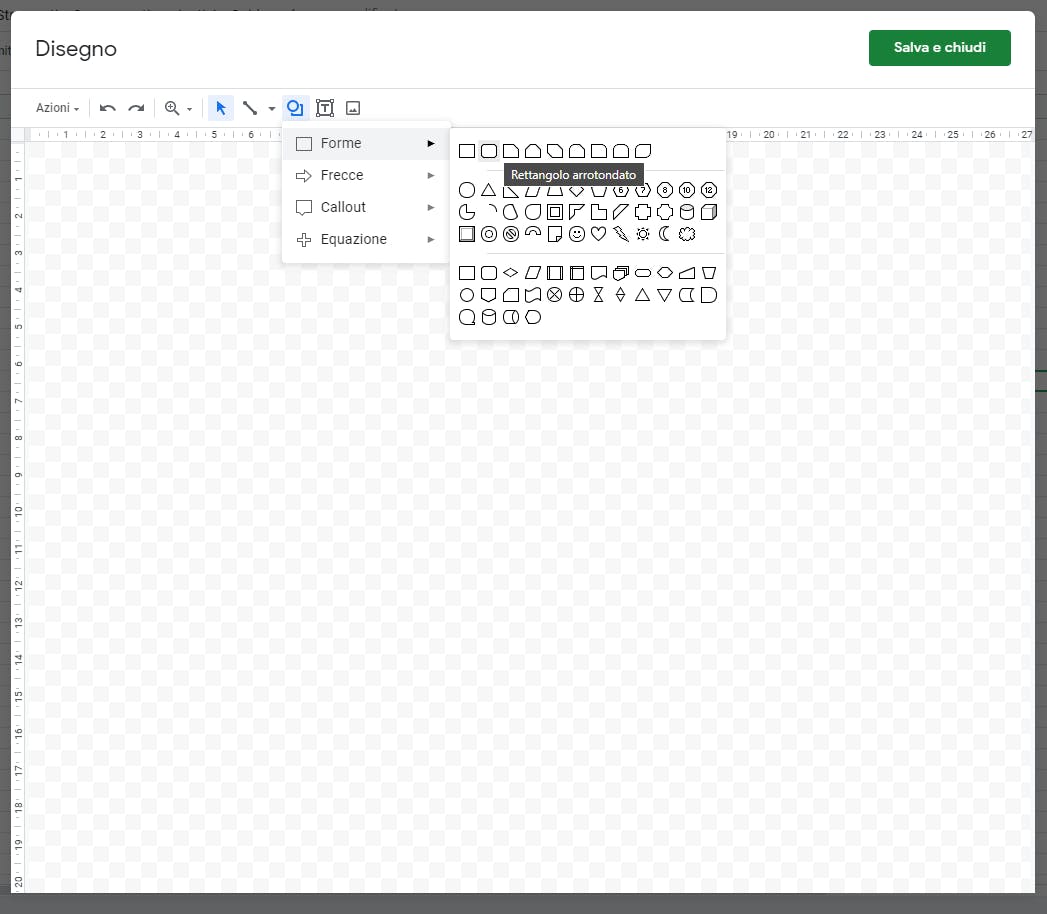
First of all, let's start to create a new SpreadSheet and insert a button with a script associated with it, this can be done under Insert>>Drawing
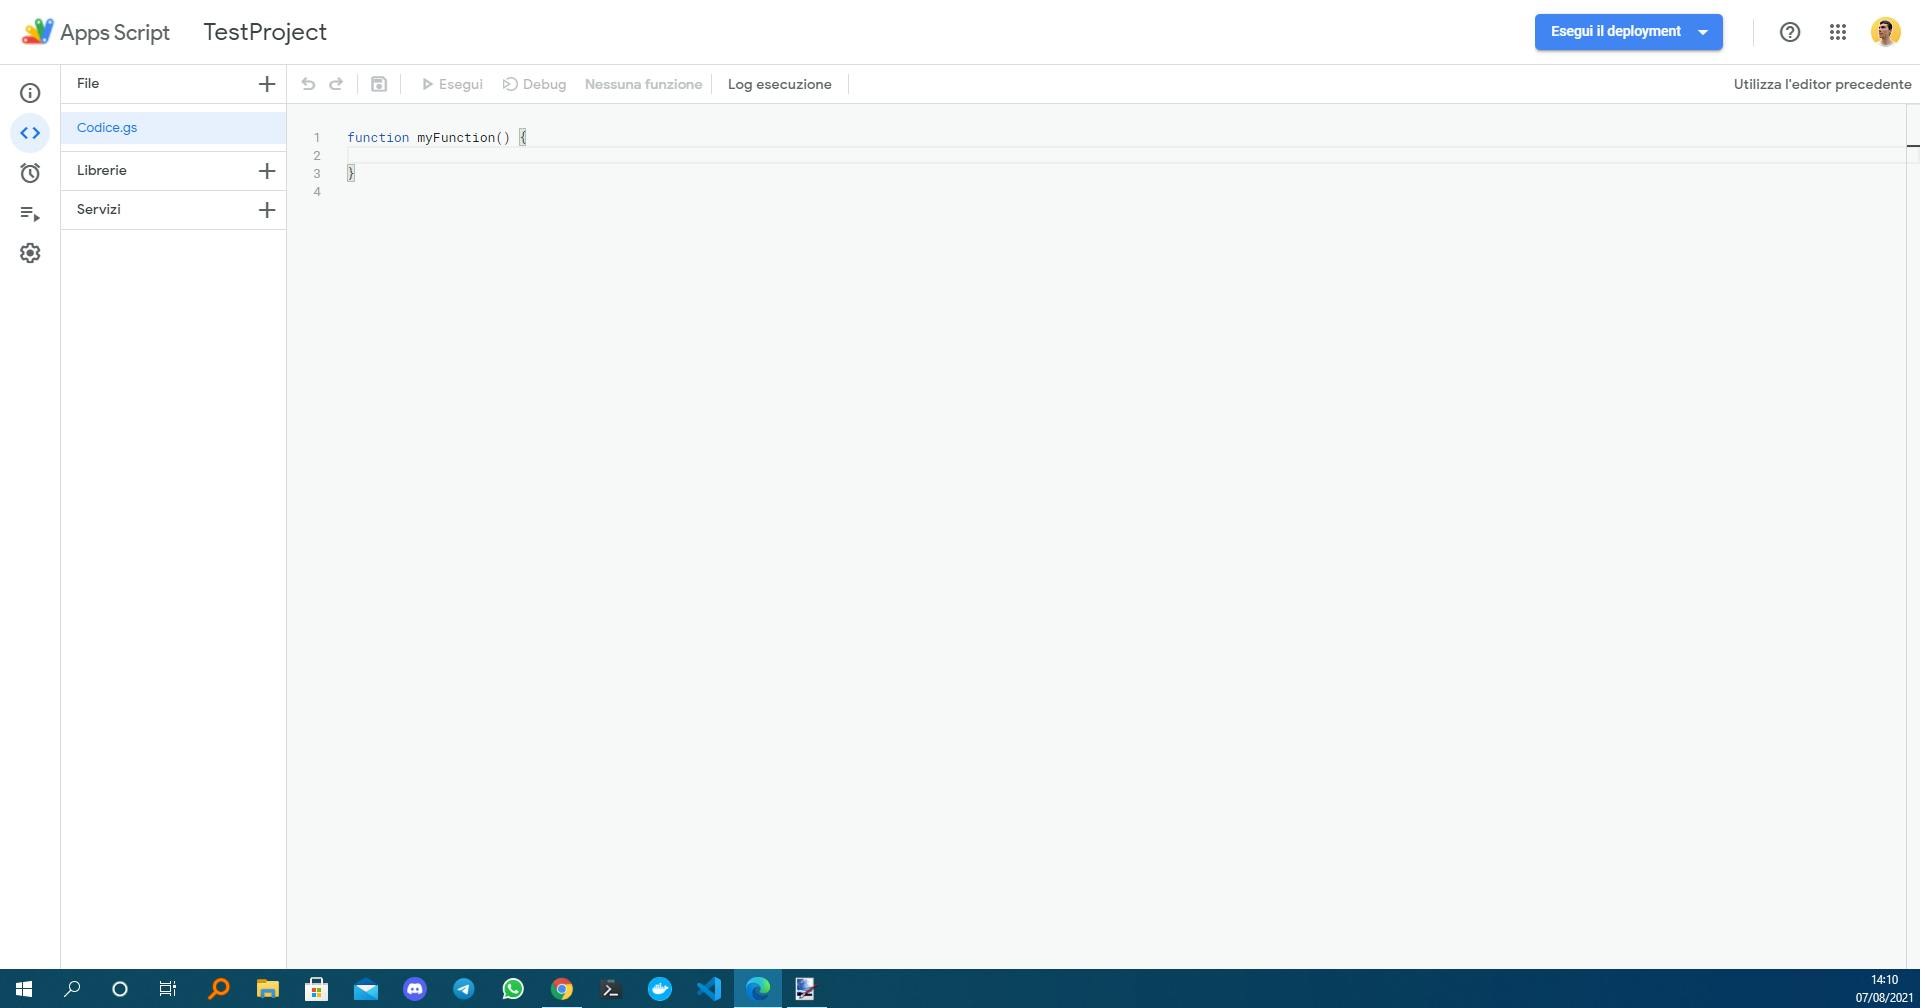
After you need to create a new script: Tools>>Script Editor, this will bring you to a page like the following, and bounds the SpreadSheet with the Script just created, this is the place where you can write your javascript code to interact with the spreadsheet.
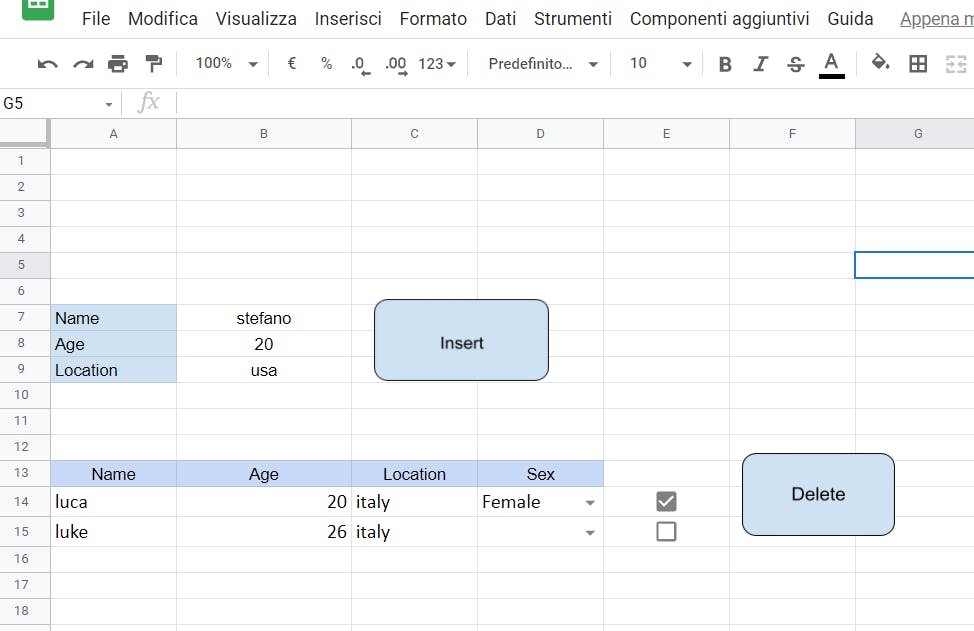
I just created a simple javascript code that allows me to:
- Take some data as input and write it in a different place
- Performs some basic controls on the age field with the alert functionality
- Adds a data validation cell on the newly inserted row
- Removes a row using a checkbox
The first time you will click on one of the buttons will be asked to give permission to run the script if this not happens just manually run the script in the editor script section.
function myFunction() {
// Takes the reference of the active Sheet and the values in the cells B7-B8-B9
  let ssActive = SpreadsheetApp.getActive();
  let name=ssActive.getRange('B7').getValue();
  let age=ssActive.getRange('B8').getValue();
  let location=ssActive.getRange('B9').getValue();

// Performs a check on the age, and executes an alert if necessary
  if (age<18){
    SpreadsheetApp.getUi().alert('Only Adults are allowed');
    return undefined
  }

// Takes the reference of the last row in the spreadsheet
  let lastRow = ssActive.getLastRow();

  // Clears the cells without removing the formatting
  ssActive.getRange('B7:B9').clear({contentsOnly: true, skipFilteredRows: true});


// Sets the values after the last row and sets font size and font family
  ssActive.getRange('A'.concat(lastRow+1)).setValue(name).setFontSize(12).setFontFamily('Calibri');
  ssActive.getRange('B'.concat(lastRow+1)).setValue(age).setFontSize(12).setFontFamily('Calibri');
  ssActive.getRange('C'.concat(lastRow+1)).setValue(location).setFontSize(12).setFontFamily('Calibri');

// Creates a cell with a data validation (Male or Female)
  let validation = ssActive.getRange('D'.concat(lastRow+1));
  let rule = SpreadsheetApp.newDataValidation().requireValueInList(['Male','Female'], true).setAllowInvalid(false).build();
  validation.setDataValidation(rule);
  ssActive.getRange('D'.concat(lastRow+1)).setFontSize(12).setFontFamily('Calibri');

// Creates a cell with a checkbox
  ssActive.getRange('E'.concat(lastRow+1)).insertCheckboxes();
}

// Performs the elimination of the corresponding row associated
// with the checkbox.
// It's important to loop from the bottom to the start because
// otherwise are deleted wrong rows
function deleteRow(){
  base=14
  const ss = SpreadsheetApp.getActive();
  let col=ss.getRange(`E${base}:E`).getValues();
  for (let i=col.length-1;i>-1;i--){
    if (col[i][0]==true){
      ss.deleteRow(base+i)
    }
  }
}